Rapid VM Deployment
You have the ability to duplicate an existing VM, a process thats uses clones or templates, also known as master images, golden copies, they all mean the same thing you take an existing VM and copied it. In the section I will discuss an number of methods for duplicating a VM. There are two new features in the VM duplicating world
There are a number of ways to duplicate a VM
| Clone to Template | This method copies the VM and converts it to a template format., during the creation of the template you have the ability to compact the files, which will reduce the size of the virtual disk. |
| Convert to Template | This simply marks the VM as a template, it's much quicker that using Clone to Template as no copy process is generated, it literially takes seconds to marks it as a template and seconds to convert it back to being a VM. You first build the VM, then covert it to a template. When you need to update this template to convert back to a VM make the updates and then convert back to a template again. You use this VM as a template only and only gets powered on when you need to update it, so basically it is like a source for creating new VM's. |
| Clone Virtual Machine | This merely copies a VM, you cannot compress the size of the VM (unlike Clone to Template) and you cannot quickly update the base VM (unlike convert to Template) |
Before you create a Template you need to consider the below
Creating a template doesn't just duplicate the VM's virtual disks, Additionally, the VM's .vmx configuration file is duplicated and renamed with the .vmtx extension, this means that all the settings behind your VM are being duplicated as well. This saves time by reducing the number of wizards and dialog boxes you need to complete. Note that if a VM is currently in snapshot mode you will not be able to clone it.
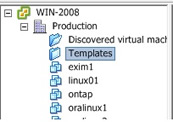
I generally create a folder called "templates", from the "home page" in vCenter select "VM's and Templates", select your data center (in my case it is called production), and right-click, then select new folder and name your folder.
Before you clone a VM it is sometimes better to you disconnect the CDROM (you will see an error on this below) and choose a staging network that it can connect too, these can then be changed before you put the newly cloned VM into service and thus will not affect anything else.
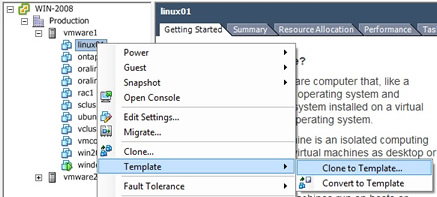
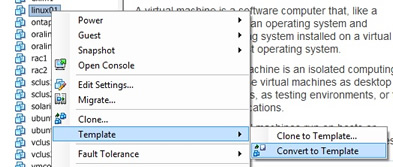
| Cloning to a Template | I am going to use the Linux VM we created earlier as a template, normally I would update it with the latest patch set and install any software at all Linux VM's would require, backup agent, BB monitoring (Big Brother), etc. Select the VM you have powered off as you source for the template, right-click the VM and select "Template", then select "Clone to Template"
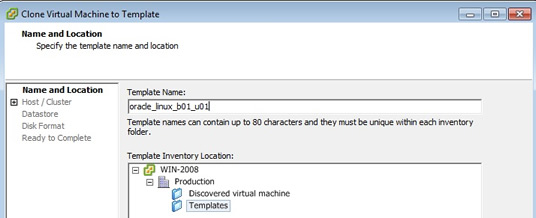
Enter a friendly name for your template, I have called mine oracle_linux_b01_u01 (b = build, u = update), I have also selected my template folder I created
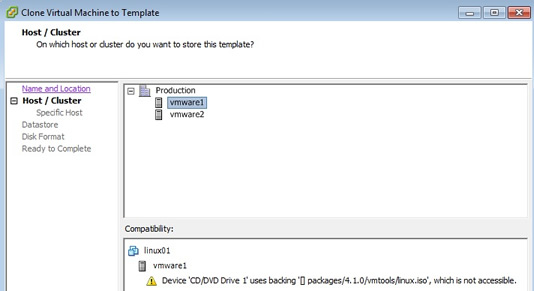
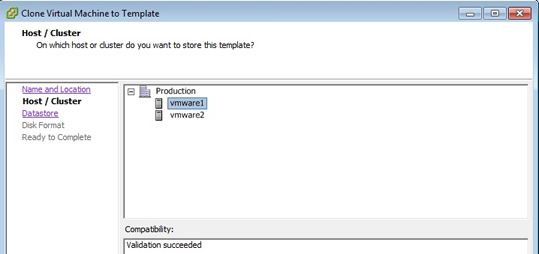
Select the Host/Cluster that you want to store the template on, at this point you may get some errors like the below if the VM that you are cloning may have any problems with it, in this case I have attached a ISO image to my CD/DVD drive, after I removed the attached ISO image from the CD/DVD drive it all worked
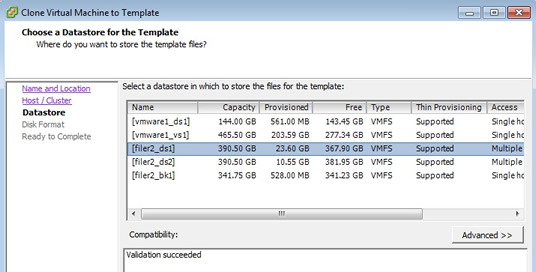
Select the physical location for storing the template files, I have put this on some shared iSCSI storage called "filer2_ds1"
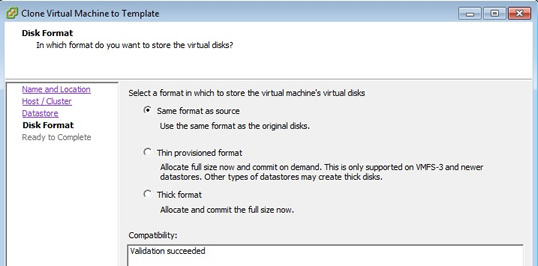
Choose the disk format, I have choose "Thin provisioned format", thus cutting down the disk required, if you need more information on disk provisioning then see my virtual machine section
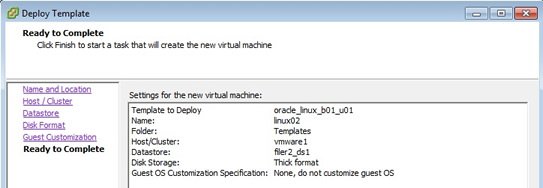
Lastly we get to the summary screen
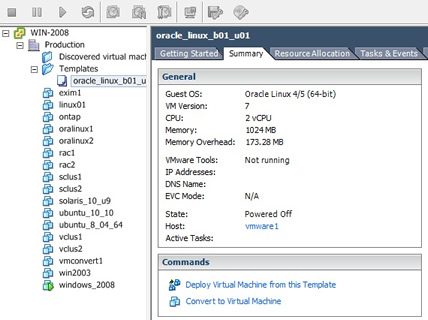
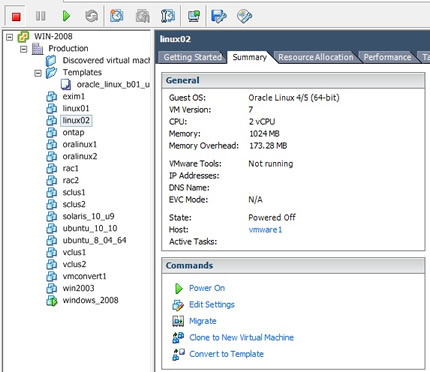
If you go to the templates and take a look at the newly created template you can see that you cannot power on this VM, you can only deploy it to a VM or convert it to a Virtual Machine. If you need to update this VM you need to convert it to a virtual machine, power it on then update it, power it off, then convert it back to a template
|
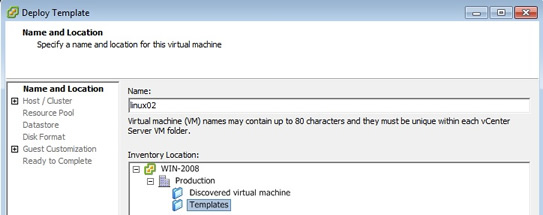
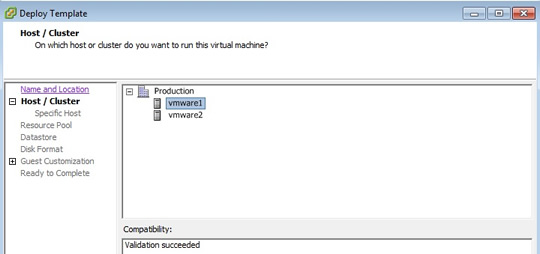
| Creating a new VM from a "cloned to Template" | Now that we have our cloned VM how do we use it to create other VM's, select the template VM and then select "Deploy a virtual machine from this template", then put the name of the VM and select Production
Select a ESXi server to host the VM
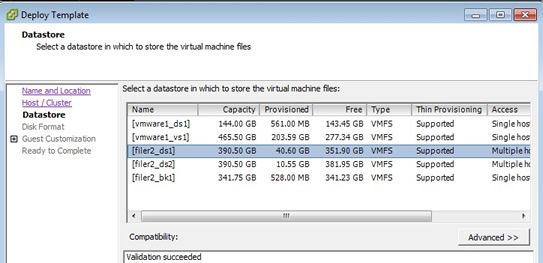
Select the datastore to store the VM
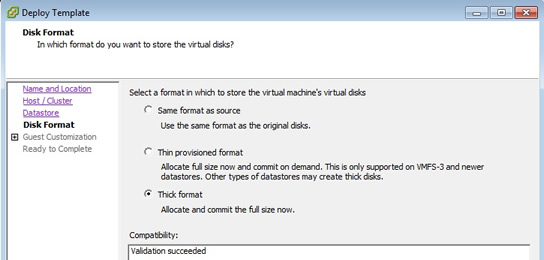
Select thick format, so that the virtual disk is fully created, if you need more information on disk provisioning then see my virtual machine section
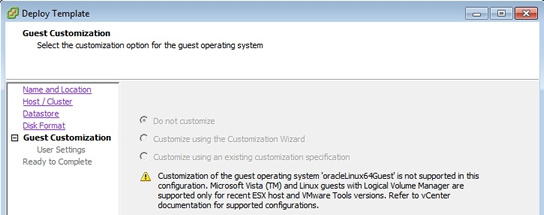
Here my vCenter does not offer customization, we will discuss this later
Finally the summary screen
Now when you look at your VM you should see the newly create linux02 VM. At this point it is just like a normal VM, you may need to change the network, CD, etc. Also when you power on the VM you may need to change the IP address, etc for your environment
|
To convert a VM into a template and back into a VM follow below
| convert a VM to a Template and then back into a VM | Make sure that the VM is powered off, right-click and select "template", then choose "Convert to Template", the whole process should be very quick a few seconds
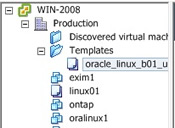
You will see that that VM disappears from the list and appear in the "VM and Templates" list, you can drag and drop the linux01 template to your template area
That's' all there is to it, to convert back into a VM just right-click on the template select "Templates" and then select "convert into virtual machine", you will be asked a couple of easy questions (what ESXi server you want it to be deployed to). |
To clone a VM just follow below
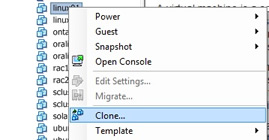
| Clone a VM | Again cloning a VM is easy, just select the VM and right-click and select "clone...."
The same questions that were asked above will be asked here again, so no surprises |
To export a VM to a OVF (Open Virtual Machine Format)
VMware's new portable format OVF, allows vendors to create a virtual machine and upload to VMware to allow others to download and import into your environment. There are no many virtual appliances in VMware marketplace.
| export a VM to OVF |
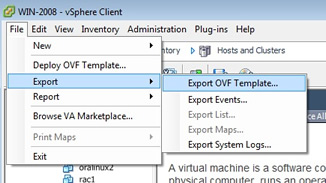
To export a VM into OVF, select the VM, then in the main vCenter window select file -> export -> "export to OVF template"
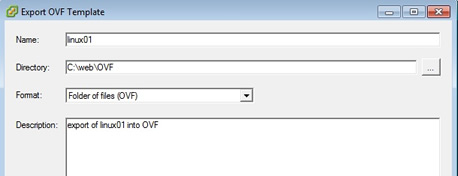
The comes a screen like below, fill in the details and select next
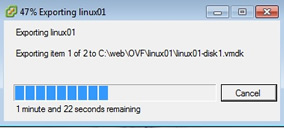
The export will take place, it took about 5 mins for a standard 15GB linux VM
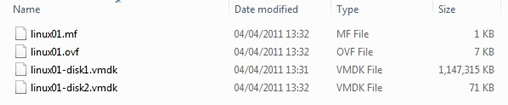
Looking into the directory of the exported VM, you see then below
|